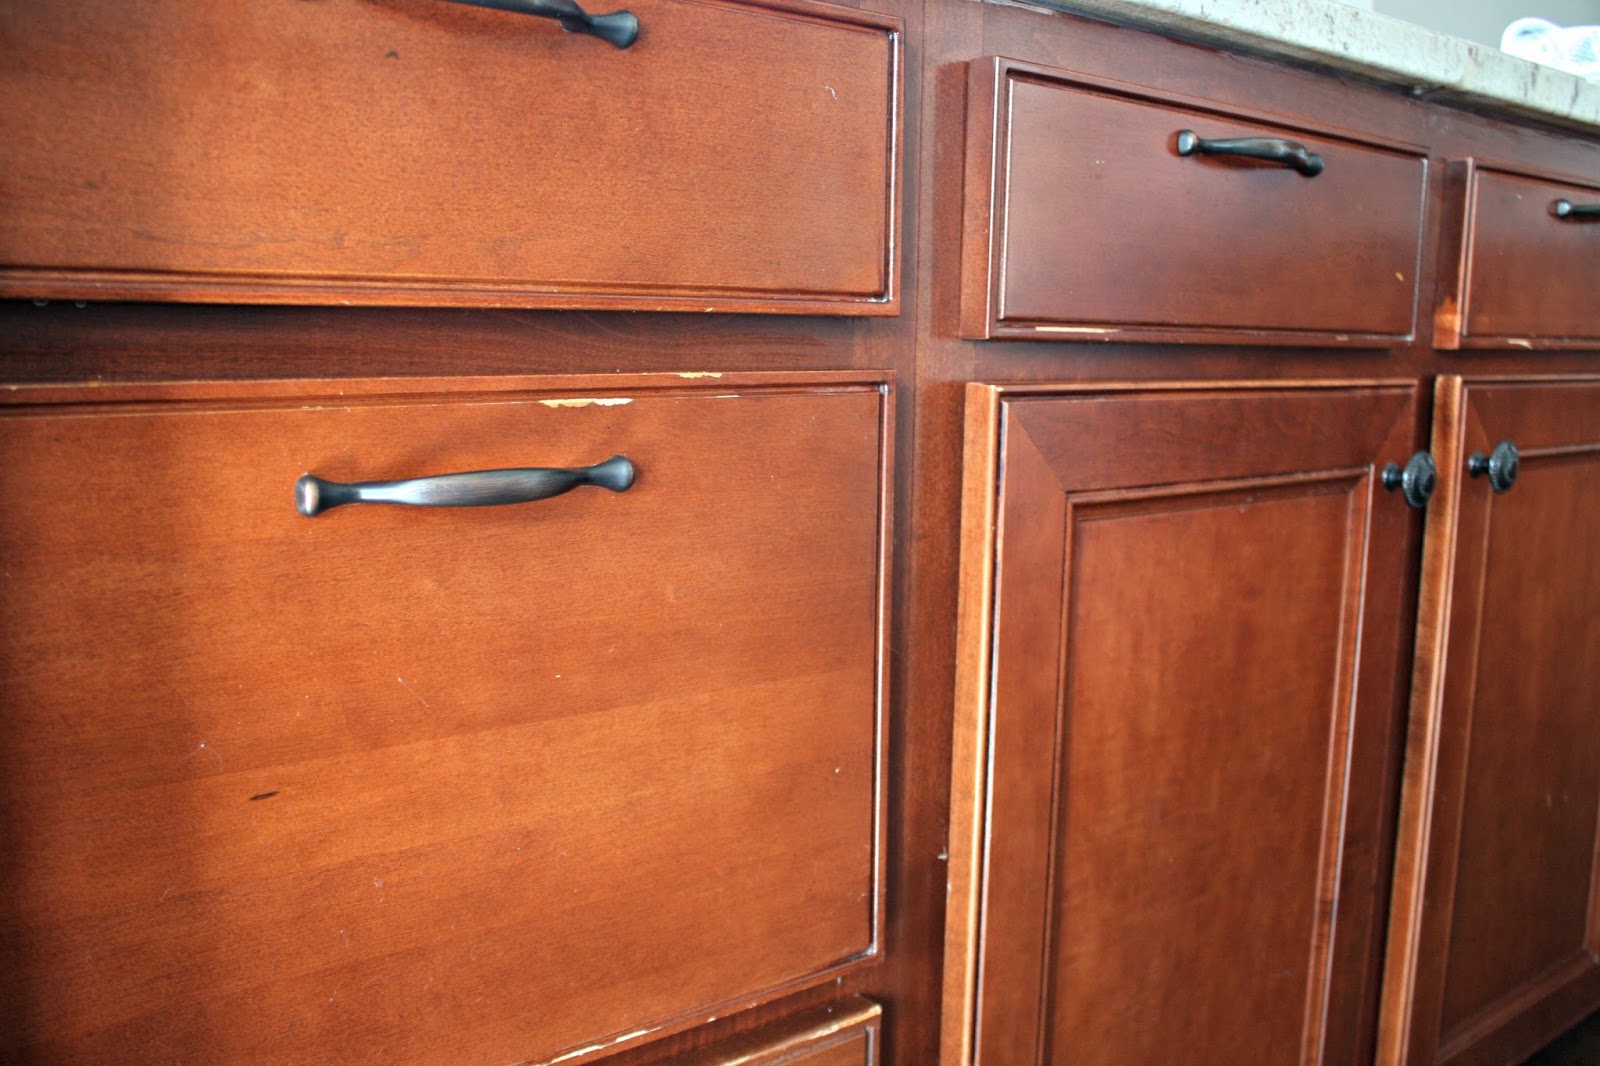
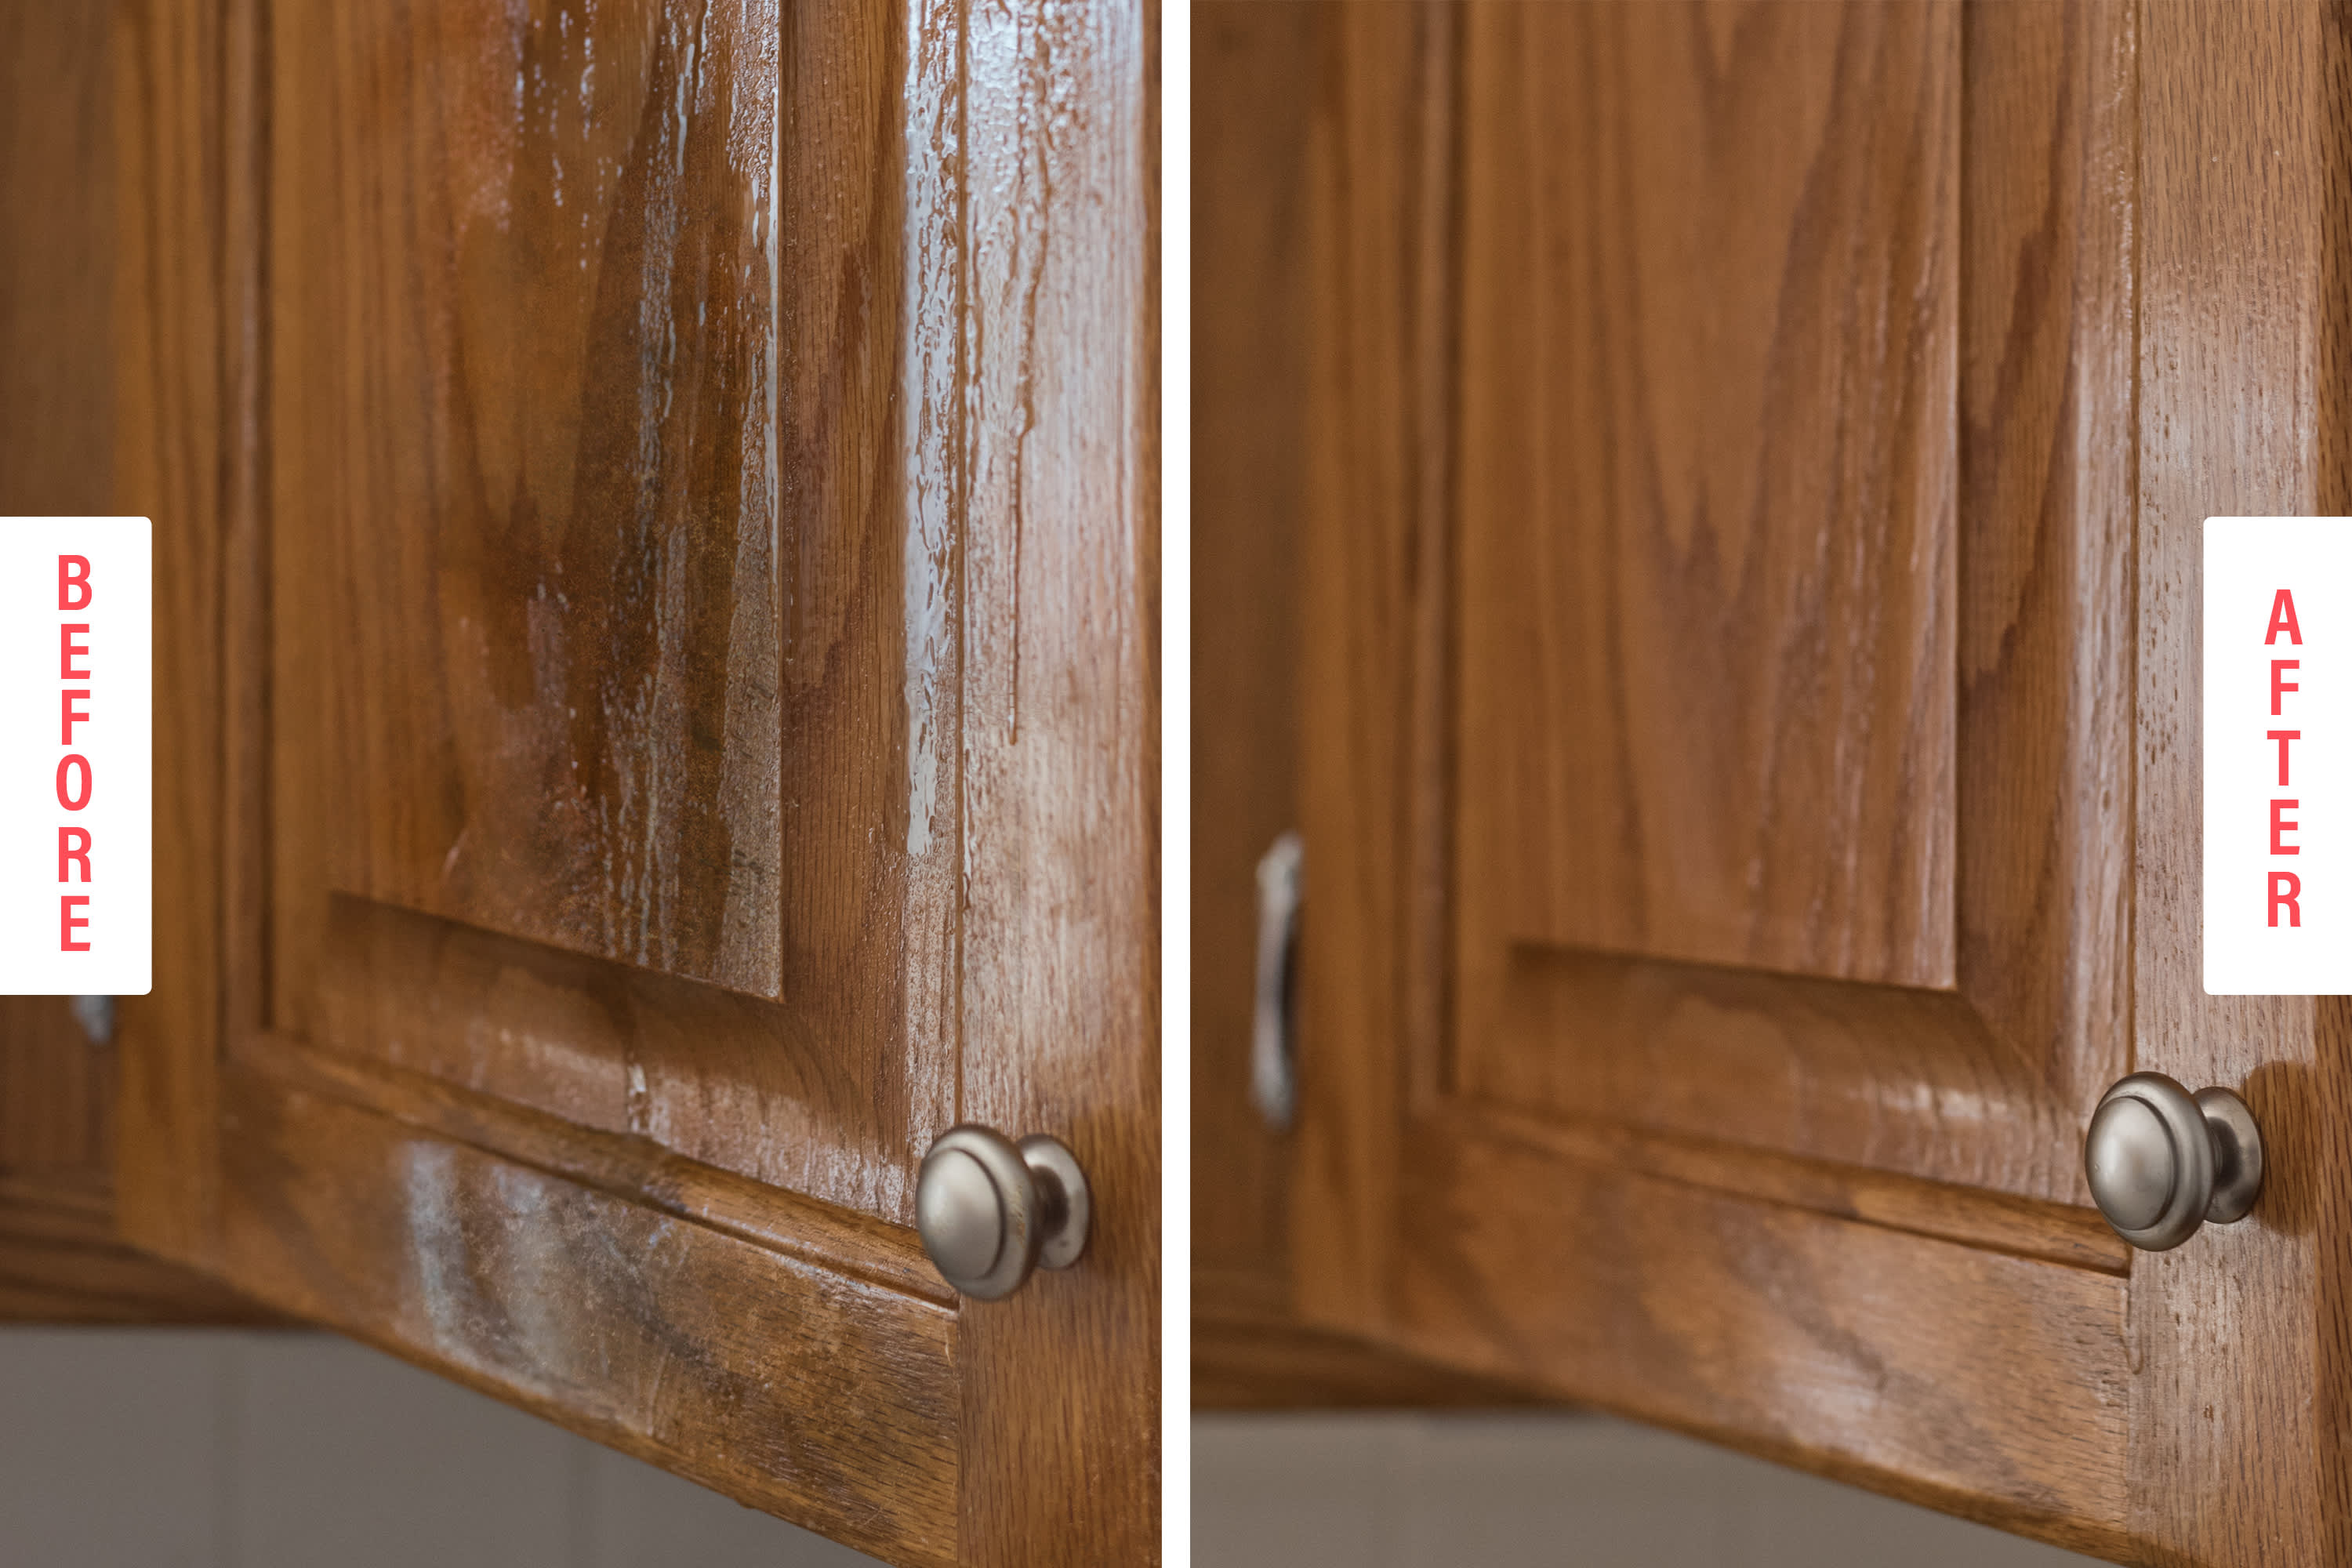
Identifying the Source of Stickiness: Why Are My Cabinets Sticky After Painting

Right, so your newly painted cabinets are a bit…tacky, are they? A right sticky situation, innit? Let’s get to the bottom of this before you end up with a kitchen resembling a flypaper museum. There are a few likely culprits, and figuring out which one’s responsible is key to getting those cabinets looking – and feeling – shipshape.
The stickiness you’re experiencing isn’t just aesthetically displeasing; it’s a sign that something went amiss during the painting process. This could range from using the wrong type of paint to inadequate surface preparation. Let’s delve into the potential problems and their solutions.
Diagnosing the Source of the Stickiness
To pinpoint the problem, a bit of detective work is needed. We’ll systematically investigate the possible causes, from the paint itself to the prep work. This step-by-step guide will help you identify the root of the stickiness and, importantly, prevent it from happening again.
| Problem | Cause | Solution | Prevention |
|---|---|---|---|
| Sticky Paint Finish | Incorrect paint application (too thick coats, insufficient drying time between coats), using a low-quality paint, or applying paint over a dirty or greasy surface. | Lightly sand the sticky areas with fine-grit sandpaper. Wipe clean and re-apply a thin coat of the correct paint, allowing ample drying time between coats. If the stickiness persists, consider repainting the entire surface. | Apply thin, even coats of paint, allowing each coat to dry completely before applying the next. Ensure the surface is thoroughly cleaned and degreased before painting. Use high-quality paint appropriate for the surface. |
| Sticky Primer | Using an incompatible primer, applying primer too thickly, or failing to allow sufficient drying time before topcoating. | If the stickiness is isolated to areas primed, lightly sand the sticky areas and wipe clean. If the stickiness is widespread, you might need to consider a complete removal of the primer and re-application. | Use a primer specifically designed for the surface and the type of paint you’re using. Apply thin coats and allow adequate drying time. |
| Underlying Surface Issue | Residual wax, grease, or silicone from previous finishes or cleaning products. | Thoroughly clean the cabinets with a degreasing agent before painting. Use a TSP (trisodium phosphate) solution for stubborn residues. Allow the surface to dry completely before applying primer and paint. | Always clean the surface thoroughly before painting, using a suitable degreaser to remove any contaminants. |
Paint Type and Stickiness
The type of paint you use significantly impacts the final finish. Oil-based and water-based paints have distinct properties, and choosing the wrong one can lead to a sticky mess.
Here’s a rundown of potential stickiness issues associated with each type:
Why are my cabinets sticky after painting – Oil-Based Paints
- Slower drying time, increasing the risk of dust and debris sticking to the wet paint, potentially leading to a less smooth finish.
- Can become tacky if not properly cured due to insufficient ventilation or low temperatures during drying.
- May require more thorough cleaning and preparation of the surface to prevent adhesion issues.
Water-Based Paints
- Generally dry faster, reducing the risk of dust accumulation, but still requires proper ventilation.
- Can become sticky if applied too thickly or if the underlying surface wasn’t properly prepared.
- May be more susceptible to showing brush strokes if not applied smoothly.
Troubleshooting and Remediation Techniques

Right, so your kitchen cabinets look like a sticky toffee pudding disaster after painting? Don’t panic, it’s a common enough problem, especially for those of us who aren’t exactly professional decorators. We’ll sort this sticky situation out, no worries.
Tackling sticky paint requires a bit of detective work and a methodical approach. The first step, as we’ve already established, is identifying the culprit – was it the paint itself, poor preparation, or something else entirely? Once you know the source, you can choose the right method for a proper clean-up. Think of it like a well-structured essay – you need a solid foundation (diagnosis) before you can build your argument (remediation).
Removing Sticky Residue
Getting rid of that sticky residue is key. The approach depends heavily on the type of paint used. A gentle soapy water wash might suffice for some water-based paints, but others may require a bit more oomph. For stubborn acrylic or oil-based paints, denatured alcohol or a specialist paint remover might be necessary. Always test any cleaning agent on a small, inconspicuous area first to avoid damaging the paintwork further. Remember to wear appropriate safety gear like gloves and eye protection, and work in a well-ventilated area.
Here’s a flowchart to guide your cleaning process:
Flowchart: Cleaning Sticky Painted Cabinets
(Imagine a flowchart here with boxes and arrows. The boxes would contain decisions like “Water-based paint?”, “Residue easily removed?”, and actions like “Wash with soapy water”, “Try denatured alcohol”, “Use paint remover”, “Repaint”).
Surface Preparation Before Repainting
Before you even think about slapping on a new coat, proper surface preparation is absolutely crucial. Failing to do this properly is like trying to build a sandcastle on a beach at high tide – it’s doomed from the start. This step prevents the same sticky situation from happening again and ensures the new paint adheres properly.
- Thorough Cleaning: Give the cabinets a really good clean using a suitable detergent and water. Make sure to rinse thoroughly and let them dry completely. This removes any lingering dirt, grease, or old paint residue.
- Sanding: Lightly sand the surfaces using fine-grit sandpaper (around 220-grit). This creates a slightly rough surface that helps the new paint grip better. Avoid sanding too aggressively, as you could damage the underlying wood.
- Primer Application: Apply a high-quality primer specifically designed for cabinets or woodwork. This acts as a barrier, sealing any remaining imperfections and providing a consistent surface for the topcoat. A good primer is your best friend in preventing future stickiness.
Repainting Techniques: Stripping vs. Overcoating
Now for the big decision: strip or overcoat? Both have their pros and cons, so let’s weigh them up.
| Stripping the Old Paint | Overcoating the Sticky Surface |
|---|---|
| Pros: Completely removes the sticky paint, providing a clean slate for repainting. Results in a longer-lasting, smoother finish. | Pros: Quicker and less messy than stripping. Suitable if the stickiness is minor and the existing paint is otherwise in good condition. |
| Cons: More time-consuming and labour-intensive. Requires the use of paint strippers, which can be harsh chemicals. Potential for damage to the underlying wood if not done carefully. | Cons: May not completely solve the stickiness problem. The new paint may not adhere properly, leading to peeling or bubbling. The final finish might not be as smooth or even. |
Preventing Future Stickiness

Right, so you’ve had a sticky situation with your newly painted cabinets. Let’s make sure that doesn’t happen again. Proper preparation and the right materials are key to a smooth, non-tacky finish. This section covers the best practices to ensure your next cabinet painting project is a doddle.
Avoiding sticky cabinets hinges on meticulous preparation and the right approach. Failing to properly prep the surfaces or choosing the wrong paint can lead to a sticky mess, so pay attention to detail!
Best Practices for Painting Cabinets to Prevent Stickiness
Following these steps will drastically reduce the chances of ending up with sticky cabinets. Think of it as a recipe for success – get the ingredients right, and the end result will be spot on.
- Thorough Cleaning: Give your cabinets a deep clean using a degreaser to remove any grease, grime, or silicone residue. A thorough cleaning is absolutely crucial for good adhesion. Don’t skimp on this step!
- Surface Preparation: Sanding is your friend. Lightly sand the cabinet surfaces to create a slightly rough texture that will help the paint adhere properly. This improves the bonding between the surface and the paint, preventing peeling and stickiness.
- Primer Application: A high-quality primer is essential, especially on glossy surfaces or when covering dark colours. Primer provides a uniform base for the topcoat, enhancing adhesion and ensuring a smooth finish.
- Paint Selection: Choose a paint specifically designed for cabinets. Look for low-VOC (volatile organic compound) options to reduce fumes and ensure a durable finish. We’ll discuss paint selection in more detail below.
- Thin Coats: Apply multiple thin coats of paint rather than one thick coat. This allows each layer to dry properly, preventing the build-up of sticky residue and ensuring a more even finish. Patience is key here!
- Proper Drying Time: Allow sufficient drying time between coats. Rushing this process can lead to a sticky finish and a less durable result. Check the paint manufacturer’s instructions for recommended drying times.
- Ventilation: Ensure adequate ventilation during painting and drying to prevent the build-up of fumes and allow the paint to cure properly. A well-ventilated space is crucial for a good finish.
Selecting the Appropriate Paint for Cabinets, Why are my cabinets sticky after painting
Choosing the right paint is half the battle. The table below Artikels the pros and cons of different paint types for cabinet painting.
| Paint Type | Advantages | Disadvantages | Suitability for Cabinets |
|---|---|---|---|
| Acrylic-Alkyd (Hybrid) | Durable, washable, good flow and leveling | Slightly longer drying time than acrylics | Excellent |
| Acrylic Latex | Easy to clean up, low odour, quick drying | May not be as durable as alkyd or hybrid paints in high-traffic areas | Good |
| Oil-Based | Very durable, hard wearing, excellent for high-traffic areas | Strong odour, longer drying time, difficult cleanup | Generally less suitable for modern use due to VOCs and clean-up issues. |
| Melamine Paint | Very hard-wearing, resistant to scratches and stains | Can be difficult to apply evenly, and special preparation may be required | Suitable for very high-traffic areas, but requires careful application. |
